Unlock the Secret to Healthier, Authentic Refried Beans at Home
Forget everything you thought you knew about refried beans from a can. Imagine a creamy, flavorful dish, rich with the warmth of authentic Mexican cuisine, made with just five simple ingredients right in your own kitchen. This isn't a dream; it's the reality of homemade refried beans – a revelation that promises a healthier, tastier, and incredibly satisfying experience. If you've ever yearned for the genuine article, something far superior to the processed versions, you're about to discover how remarkably easy it is to create your own healthier refried beans from scratch.
Making refried beans at home allows you complete control over the ingredients, particularly the type and amount of fat, and crucially, the sodium content. Store-bought cans often contain excessive salt, preservatives, and less-than-ideal oils. By choosing to make this beloved staple yourself, you're not just creating a dish; you're crafting a nutritious, wholesome meal component that supports your family's health without compromising on the incredible taste.
Frijoles Refritos: More Than Just "Re-fried" Beans
Before diving into the recipe, let's clear up a common misconception about the name. The Spanish term,
frijoles refritos, doesn't actually mean "re-fried" or fried twice. In Mexican Spanish, the prefix "re-" is often used for emphasis, much like "very" or "well" in English. So,
frijoles refritos literally translates to
"very well-fried beans". This nuance highlights the importance of the frying process in developing the deep, rich flavor and characteristic texture that defines authentic refried beans. It's a testament to how crucial this single frying step is, transforming simple boiled beans into a culinary masterpiece. For a deeper dive into this fascinating linguistic and culinary insight, check out our article:
Frijoles Refritos: The Real Meaning Behind "Very Well-Fried" Beans.
The Five Essential Ingredients for Authentic Refried Beans
The beauty of this recipe lies in its simplicity and reliance on basic, wholesome ingredients. You won't find any mysterious additives here – just real food.
1.
Dried Pinto Beans (or Black Beans): This is the absolute cornerstone. While convenience might tempt you to reach for canned beans, resist the urge! Dried beans are crucial for achieving the correct texture and authentic flavor. Canned beans are typically softer and often have a slightly metallic taste that homemade refried beans simply avoid. Pinto beans are the traditional choice, lending a beautiful creamy texture and earthy flavor, but black beans offer a delicious alternative with their own distinct profile. You can usually find dried beans in the Mexican food aisle or bulk section of your grocery store.
2.
Onion: A whole onion, often cut in half, is simmered with the beans to infuse them with a subtle, sweet aromatic base.
3.
Garlic: Fresh garlic cloves, sautéed briefly, add a pungent, savory depth that is essential to the flavor profile.
4.
Cumin: This warm, earthy spice is non-negotiable for that signature Mexican flavor.
5.
Oregano: Mexican oregano is preferred for its distinct citrusy, slightly minty notes, but standard oregano will also work beautifully.
Beyond these five, you'll also need water for cooking, salt to season, and a healthy fat for frying, such as lard, avocado oil, or olive oil.
Traditional Method: Stovetop Homemade Refried Beans
Making refried beans the traditional way requires a bit of foresight due to the overnight soaking, but the active cooking time is surprisingly minimal.
Step-by-Step Guide:
- Rinse and Soak Beans: Begin by carefully sifting through your dried beans, removing any small stones or debris. Rinse them thoroughly under cold water. Place the cleaned beans in a large pot and cover them generously with water (at least 2-3 inches above the bean level). Let them soak overnight, ideally for 8-12 hours. This step significantly reduces cooking time and aids in digestion.
- Boil Beans to Perfection: The next day, drain the soaked beans and rinse them once more. Return them to the same pot and cover with fresh water. Add a halved onion and a generous dash of salt. Bring the water to a rolling boil, then reduce the heat to a simmer, cover the pot, and cook for approximately one hour, or until the beans are tender. They should be soft enough to mash easily.
- The "Frying" Stage: Carefully drain the beans, making sure to reserve at least ½ to 1 cup of the cooking liquid (bean broth). This broth is pure liquid gold and vital for achieving the perfect consistency and flavor. In a large, heavy-bottomed skillet or Dutch oven, heat your chosen fat (lard, avocado oil, or olive oil) over medium heat. Once hot, add the minced garlic and sauté for about 30 seconds until fragrant – be careful not to burn it!
- Mash and Mix: Add the cooked beans, cumin, and oregano to the skillet, along with about ¼ cup of the reserved bean broth. Begin to gently mash the beans using a potato masher, a sturdy fork, or a traditional bean masher (a machacador). Continue mashing and stirring as the beans cook, allowing them to gently fry and absorb the flavors.
- Achieve Your Desired Consistency: As you mash, gradually add more of the reserved bean broth, a tablespoon or two at a time, until the refried beans reach your preferred consistency – from chunky to smooth and creamy, like soft mashed potatoes. Taste and adjust seasoning with additional salt if needed.
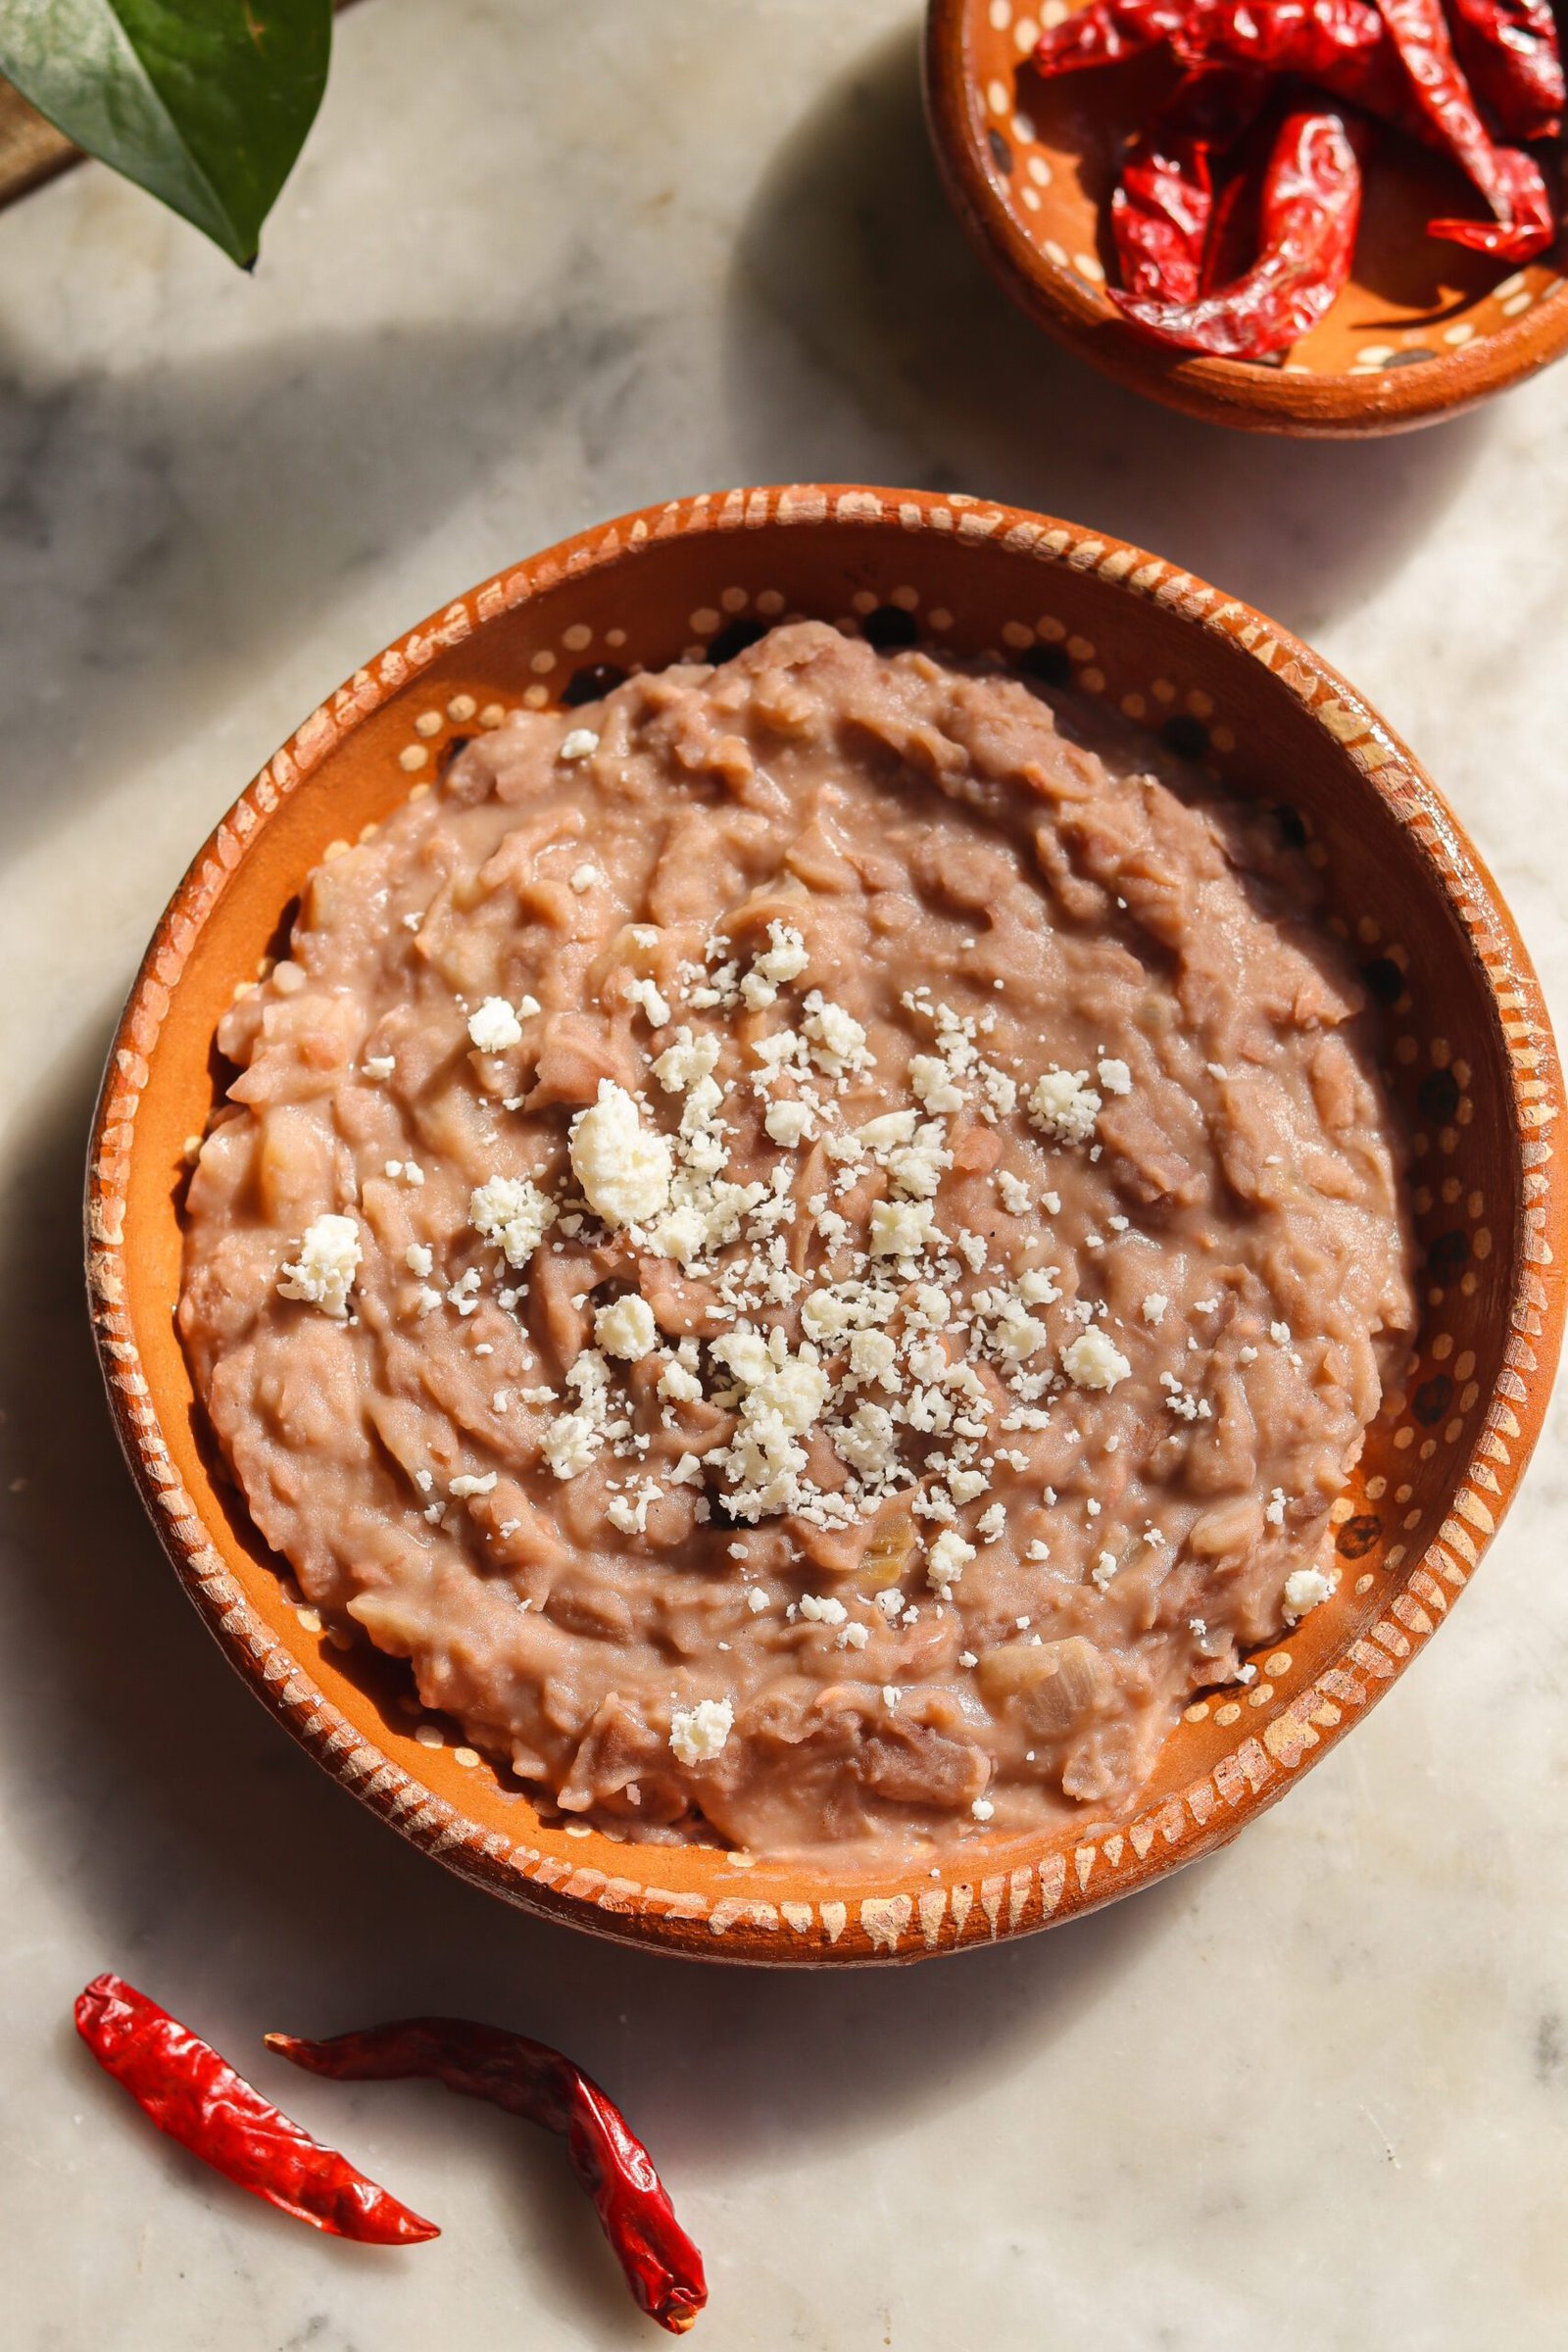
- Serve Warm: Spoon into bowls and top with shredded cheese, crumbled cotija, a dollop of sour cream, or fresh cilantro, if desired.
Modern Convenience: Instant Pot Refried Beans (No Soaking Required!)
For those who crave homemade goodness without the overnight wait, the Instant Pot is a game-changer. It streamlines the process, delivering perfectly cooked beans in a fraction of the time.
Instant Pot Method:
- Rinse Beans: Rinse dried beans in a colander, inspecting for any unwanted pieces.
- Pressure Cook: Add the rinsed beans to your Instant Pot with a halved onion, a dash of salt, and 7-8 cups of water. Seal the lid, set the valve to "sealing," and cook on high pressure (manual setting) for 45 minutes.
- Natural Release: Allow the pressure to naturally release for 25 minutes. This is crucial for tender beans. After 25 minutes, you can carefully quick-release any remaining pressure. Remove the lid and test the beans for tenderness.
- Sauté and Mash: Drain the beans, reserving about ½ cup of the bean broth and discarding the onion (or chop it and add it back for more flavor). Select the "SAUTE" mode on your Instant Pot. Add your chosen fat (lard or oil) to the pot. Once hot, add the minced garlic and stir for 30 seconds. Add the cooked beans, cumin, oregano, and about ¼ cup of the reserved bean broth.
- Mash and Season: Using your potato masher, gently mash the beans directly in the Instant Pot liner as they continue to cook on "SAUTE." Stir frequently, adding more bean broth gradually until you achieve your desired consistency. Taste and adjust salt as needed.
- Serve: Garnish as you would with the stovetop version and enjoy!
Tips for the Best Homemade Refried Beans
*
Fat Matters: Traditionally, lard is used for its unmatched flavor and texture. However, for a healthier approach, high-quality avocado oil or olive oil can be excellent substitutes, offering their own unique flavor profiles.
*
Customize Your Consistency: The beauty of homemade is that you control the mash! If you prefer a chunkier texture, mash less. For a super smooth puree, use an immersion blender or transfer some to a regular blender (with caution, as hot liquids expand).
*
Flavor Boosters: A pinch of chili powder, a diced jalapeño (seeds removed for less heat) added during the frying stage, or a splash of lime juice at the end can elevate the flavor even further.
*
Storage & Freezing: Homemade refried beans store beautifully! They will last 4-5 days in an airtight container in the refrigerator. For longer storage, freeze them in individual portions for up to 3 months. Thaw in the refrigerator overnight or gently reheat from frozen on the stovetop with a little water or broth.
*
Serving Suggestions: Beyond being a quintessential side dish for any Mexican meal, homemade refried beans are fantastic in burritos, tacos, quesadillas, tostadas, or layered dips. They make a hearty and satisfying breakfast alongside eggs and tortillas.
Why Go Homemade? The Healthier Difference
Choosing to make your own refried beans is a commitment to a healthier lifestyle without sacrificing flavor. You eliminate the excessive sodium, unhealthy fats, and artificial preservatives often found in canned varieties. By using fresh, real ingredients, you create a dish that is not only packed with dietary fiber and plant-based protein but also boasts a depth of flavor that is truly unparalleled. It’s an easy, rewarding step towards nourishing yourself and your loved ones with food that is both delicious and genuinely good for you.
Embracing this simple 5-ingredient recipe for healthier refried beans will transform your culinary repertoire. The minimal effort yields maximum flavor and a dish that truly tastes like it came straight from a Mexican kitchen. So, ditch the can, soak those beans (or grab your Instant Pot!), and prepare to be amazed by the rich, authentic taste and superior health benefits of homemade refried beans. For more ways to elevate your home cooking with authentic flavors and healthier choices, explore our guide:
Unlock Authentic Refried Beans: Easier & Healthier Than Canned.